
Upon learning from a mommy friend that she was able to apply for a Philippine passport for her 2-year-old daughter via walk-in, I then asked her of the how-to’s and also did some research myself.
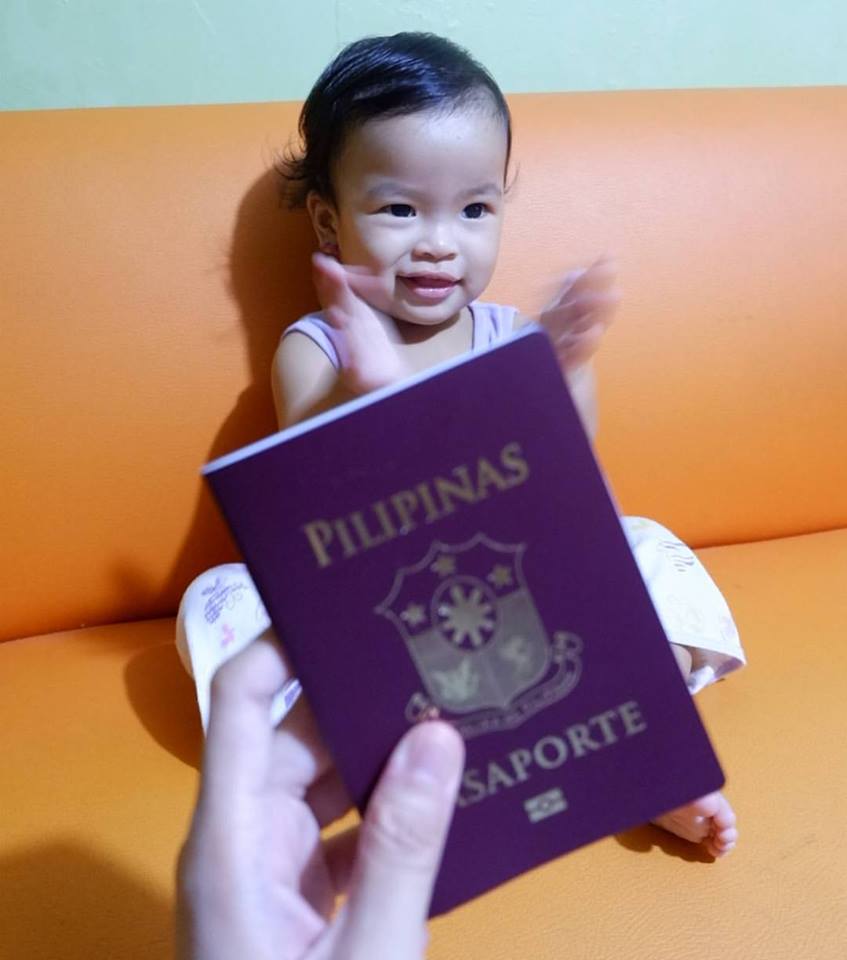
Our daughter, Savia, has just recently turned one and my husband and I thought that it’s a good time for us to apply for a passport for her.
And last October 2, we did try to apply via walk-in (it was just me and Savia – since they only allow 1 companion per minor applicant) at DFA NCR East – SM Megamall located at 7th Floor Building C, SM Megamall, Mandaluyong City.
Location landmark: the City Bus Terminal at the Building Parking along EDSA Northbound. You can ride the elevator which is right behind the restrooms located there and go your way to the 7th floor of the building.
There are a few reminders, though, that you might be in need of prior to applying via walk-in:
NO APPOINTMENT IS NEEDED for the following:
- Senior Citizen with Senior Citizen ID
- Person with Disability (PWDs) with PWD ID or visible disability
- Solo Parent with Valid Solo Parent ID
- Pregnant women with medical certificate
- Minors seven (7) years old and below
You may avail of the PRIORITY LANE at DFA Aseana or at any DFA Satellite Office or Regional Consular Office* to apply for your passport.
*You may see the list of DFA Satellite Office or Regional Consular Office from this link as well as the link to their respective schedule/work hours thru this link.
General Requirements for Minors:
The following are required for first-time passport applications:
1. Confirmed appointment (except for 7 years old and below)
2. Personal appearance of the minor applicant
3. Personal appearance of either parent
4. Passports of parents
5. Original Birth Certificate of minor in Security Paper issued by the Philippine Statistics Authority (PSA). (Trivia: PSA is formerly known as the National Statistics Office or NSO.)
Alternatives:
- If BC is not yet available: Certified True Copy of Birth Certificate issued by the Local Civil Registrar and duly authenticated by PSA.
- If entries are blurred/unreadable: Transcribed Birth Certificate
- If born abroad: Report of Birth duly authenticated by PSA is required if minor was born abroad
6. Document of identity with photo: • Options: School ID or Form 137 with readable dry seal • For minor applicants who never attended school: Notarized Affidavit of Explanation executed by either parent (if minor is a legitimate child) / by mother (if minor is an illegitimate child) detailing the reasons why the child is not in school (This is only applicable to children who are supposedly at the studying age but are not studying. In our case, we did not submit this because Savia is only 1 year old.)
7. Marriage Certificate of minor’s parents duly authenticated by PSA. (If parents are not married, (hence, the absence of marriage certificate) you may just need to show the passport of the mother and the original birth certificate of the child.)
8. Original and photocopy of valid passport of the person travelling with the minor
Additional inputs from our personal experience:
- Normally, only one companion per minor applicant is allowed. Although I have not seen this on any list of their reminders, I have only learned this from the mommy friend and we did follow it. For some offices, they might allow more than 1 companion per child or “pasabay parent” or “padamay sa priority lane (provided that the child is also applying for a passport)”. However, in some branches, you might need to call them for verification about this prior to going there just to be sure 🙂 Here’s the link on the list of DFA branches and their respective contact details.
- There is NO NEED to bring any picture (1×1 or 2×2 or passport-sized) for you or for your child. This is a very common misconception to us about the new process of the passport application. Photo-capturing will take place in Step D later.)
- Prepare a fee of PHP 950 (rush 10-working-day processing) or PHP 1,200 (regular 20-working-day processing) + a delivery of PHP 150 (within Metro Manila area). Otherwise, you will be obliged to pick up the passport as it will be instructed to you.
- For faster transactions at the priority lane queue, I highly suggest that you bring the required original documents and their photocopies on-hand. In case you do not have them photocopied yet, there is an available photocopier with pay inside the satellite office.
- Don’t forget to see the guidelines on photo-capturing and follow a dress code even if it’s for your child – no tank tops, sandos, etc. otherwise you’re going to end up lending your child your nursing scarf just so she’ll be covered – just like what I did haha! (You may refer to the photo that I uploaded on Instagram at the end of my entry 🙂
Meanwhile, below are the steps that we (Savia and I) have undergone specifically at the DFA NCR East – SM Megamall on a Monday afternoon (considered as a lean day and lean hour).
Step A (Verification)
After you’ve had your bag inspected and checked by the security guard at the main entrance door, a few steps away, an officer at the reception will ask you if who will be the one to be applied a passport for.
An online form is available at their official website but with our experience (and as also suggested by my mommy friend), you will also be provided the same form at the Verification Section (Step A) and you may fill it out right there and then. Unfortunately, there are no chairs available for you in that area.
I suggest that you have it filled out already prior to walking-in. Once you have submitted it at the reception, you will be given a queue number and will be informed of the next step and that your application is at the priority lane.
Step B (Encoding)
There is a designated area (with chairs this time hehe!) where you will wait for your queue number to be called. While waiting, you may already prepare the accomplished application form, the parents’ passports and your child’s birth certificate. Make sure that the photocopies are already on-hand too.
You will also be asked if you’re going to avail of the regular or the rush processing of the passport. Once you’ve decided, you will be given a form that you need to show up at the cashier.
Step C (Cashier)
There’s a separate window that you need to go to for the payment. If you prefer a regular processing (20 working days), fee is at PHP 950 while rush processing (10 working days) is at PHP 1,200.
Step D (Data/Photo Capturing)
Two to three cubicles (numbers 18-20) are intended for the priority lane. You may submit your forms and official receipt (OR) at any of the attendants present at those cubicles. After doing so, patiently wait for your child’s name to be called.
There are chairs situated per cubicle. And since you will be dealing with an infant/child for a picture-taking, a box to elevate them is also available for them to sit on. With our experience, since we didn’t get any assistance from any of their staff for this matter, patience is a virtue, most esp. when Savia smiles for the camera (smiles showing visible teeth is not allowed) or if she doesn’t look at the camera. But alas, she had the best photo (I guess haha!) taken after a few takes.
Step E (Delivery via Courier) – Optional
If you do not prefer to pick up your passport once it is available and you wish to have it delivered right at your doorstep, you may avail of it via LBC. A delivery fee of PHP 150 (within Metro Manila) will be paid in this section.
After which, you will be asked of your delivery details while it’s being encoded in front of you where the computer monitor is visible for your validation.
As for our experience, the delivery date was tagged the next day of application, October 3. The expected date of arrival was between October 11 and 14. We received the passport last October 12, quite earlier than expected 🙂
And that’s it! 🙂
Hopefully, this blog entry helps and reaches out my mommy friends who would also want to apply for a Philippine passport for their child/ren.
PS. If there are any tips or reminders that I have missed out or any information that must be corrected (or even grammatical errors. yes, I’m open to that hehe!), please feel free to comment below or email me directly. Thanks again and good luck on your application! 🙂
For more mommy tips and stories, please:
Like my FB page: Diana the Mama
Follow me on IG: @dianathemama